Quick Start
This guide walks you through connecting to Jira and creating your first query.
Step 1: Connect to Jira
After starting Canopy, you'll see the connection screen.
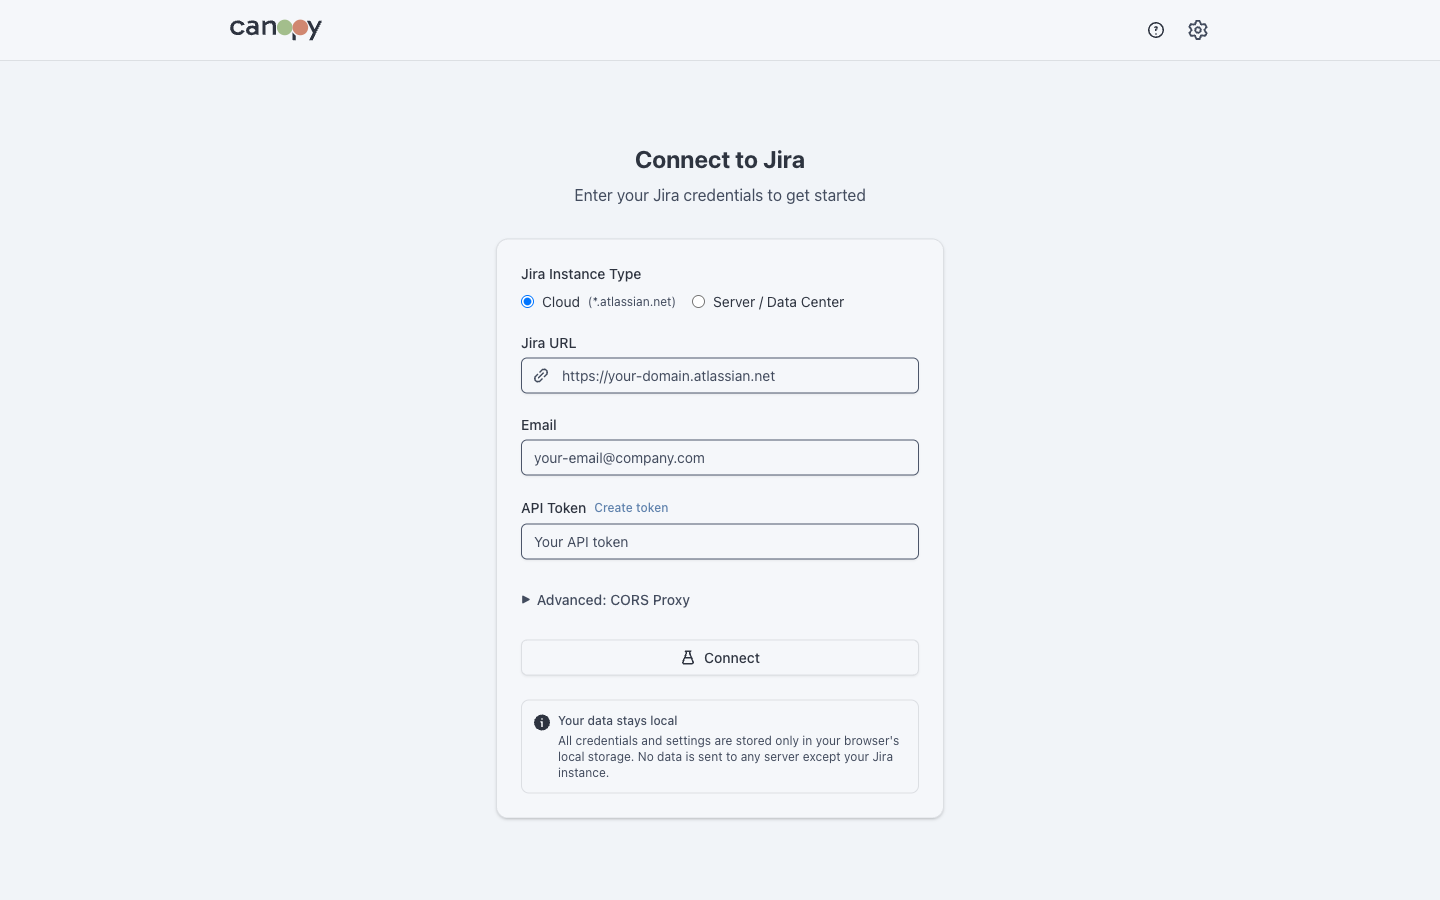
For Jira Cloud
- Set Instance Type to
Jira Cloud - Enter your Jira URL:
https://your-domain.atlassian.net - Enter your Email (Atlassian account email)
- Enter your API Token (see Configuration for how to create one)
- If using the web app, configure the CORS proxy URL
For Jira Server/Data Center
- Set Instance Type to
Jira Server - Enter your Jira URL:
https://jira.your-company.com - Enter your Username
- Enter your Personal Access Token or password
Click Connect to test the connection.
Step 2: Create Your First Query
After connecting, you'll see the Dashboard with an empty query list.
- Click Add Query
- Enter a Title (e.g., "My Sprint")
- Enter a JQL Query, for example:
project = "MYPROJECT" AND sprint in openSprints() - Optionally select a Color for the query
- Click Save
Step 3: View the Tree
Click on your saved query to load issues. The tree view displays your issues hierarchically:

Basic Navigation
| Action | Mouse | Keyboard |
|---|---|---|
| Expand/Collapse | Click chevron | Space or →/← |
| Move up/down | Click issue | ↑/↓ or j/k |
| Open in Jira | Click issue key | Enter |
Step 4: Apply Filters
Use the filter bar to narrow down results:
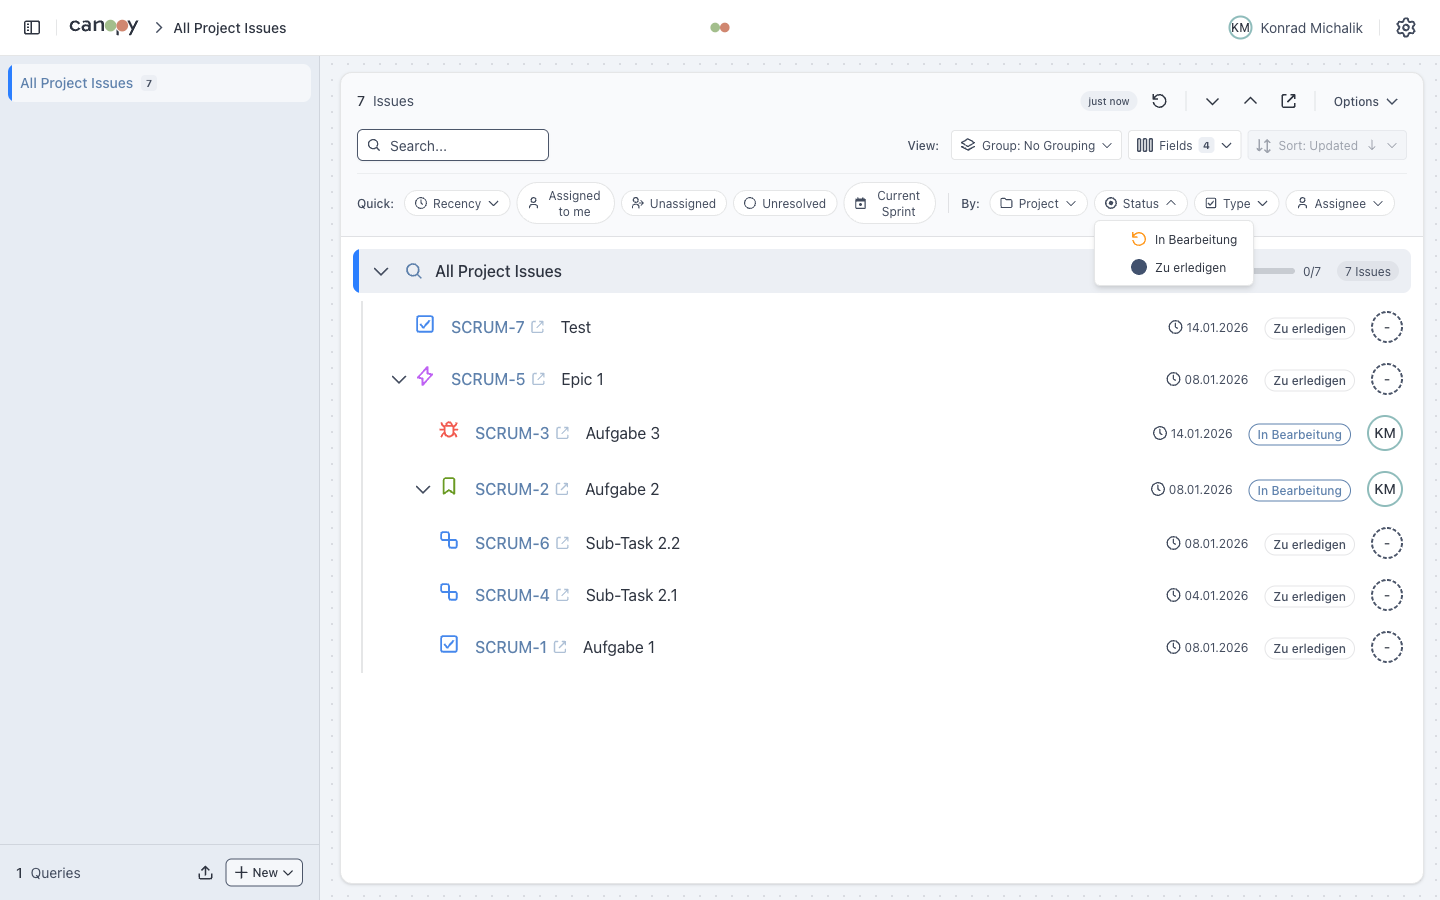
- Quick Filters: Pre-defined filters like "Assigned to me" or "Unresolved"
- Dynamic Filters: Auto-generated from loaded issues (Status, Assignee, Priority)
- Text Search: Find issues by key or summary
Step 5: Group Issues
Change how issues are organized using the grouping dropdown:
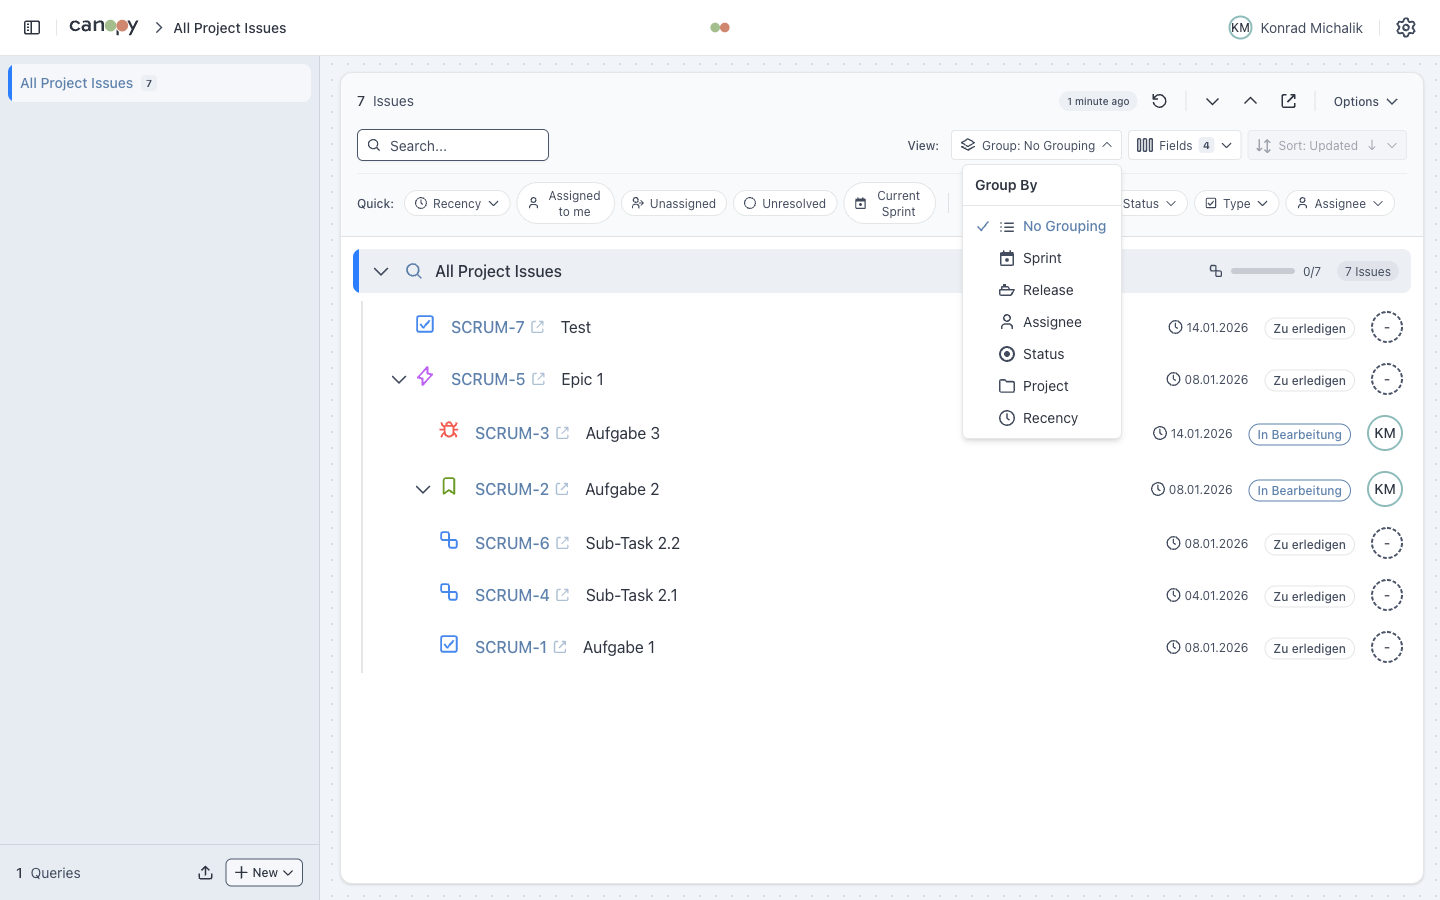
| Grouping | Description |
|---|---|
| None | Default tree view |
| Sprint | Group by Sprint with progress bars |
| Assignee | Group by team member |
| Status | Group by status category |
| Project | Group by Jira project |
Next Steps
- Tree View - Learn about hierarchy and progress indicators
- Filtering - Master the filtering system
- Keyboard Shortcuts - Navigate efficiently with the keyboard